Yesterday on the way home from a run on the pier with the dog, we were passing the bus stop outside the deli shop. As we were passing a man was unwrapping his newly acquired breakfast roll with great delight. Suddenly he dropped it. Luckily it landed on its wrapping paper so it would be possible to pick it up and munch away. However, little did he know our dog, saw this and took the opportunity to almost rip my arm out of its socket and wrenched us towards the sandwich. The dog beat the man to it. With the breakfast roll in the dogs mouth, the man looked very upset, almost angry in fact. I was mortified! I apologised over and over and handed over the only money I had in my pocket (two euro) which was not enough to buy a replacement breakfast roll. I had to run away as fast as I could as I was so embarrassed. The dog was very pleased with herself. So if you are reading this and are the man whose breakfast roll my dog stole, then I owe you one mighty breakfast roll.
On the off-chance that this man followed me home in anger and comes knocking on our door, I made little weekend treats to offer him (along with another apology and a smile).
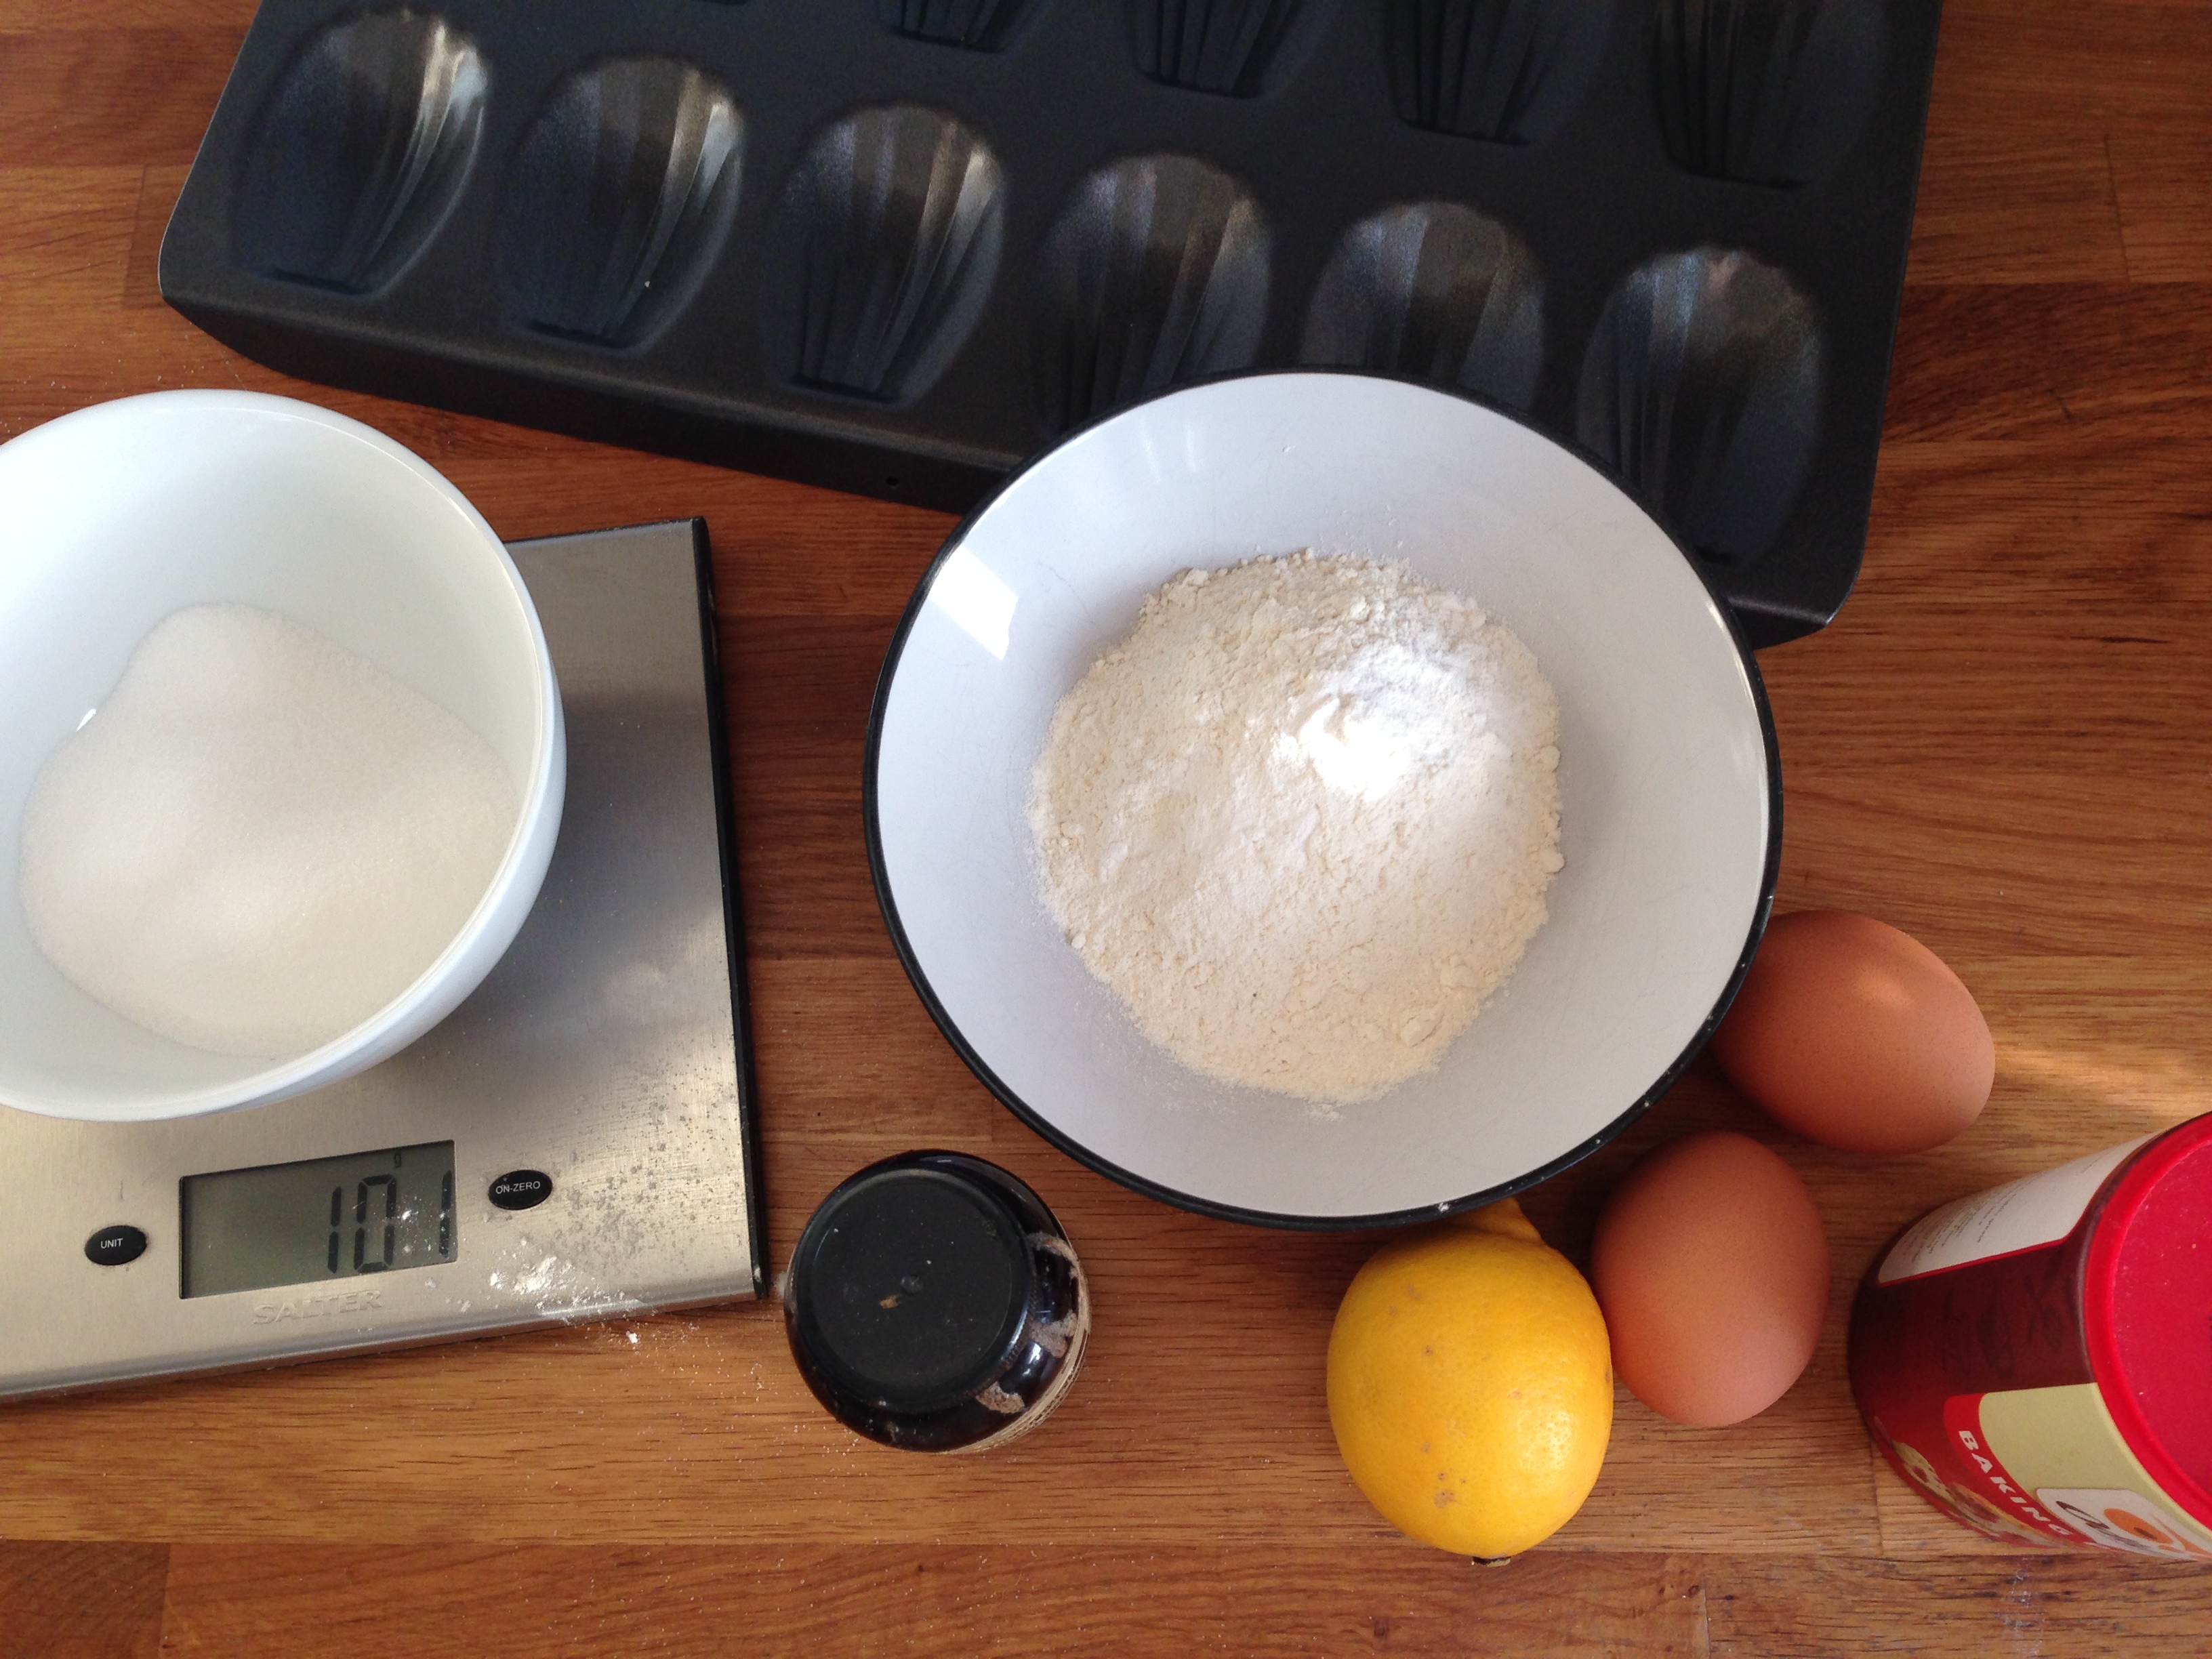
This weekends treats are Madeleines. These are small little sponge cakes, with a distinctive shell-like shape. Last week I bought a new madeleine baking tray. The lines are not as defined as I would like but still make lovely little treats. So here is my recipe…

MADELEINES
- 95 g plain flour
- 1/2 tsp baking powder
- 2 large eggs
- 100 g caster sugar
- 1 tsp grated lemon zest
- 1 1/2 tsp vanilla extract
- 70 g butter, melted and slightly cooled
THE HOW
Heat your oven to 190 C/ 170 C (fan oven). Most madeleine trays are non-stick. But I like to grease the tray anyway and dust with flour to ensure a clean line and ease of release.
Beat together the sugar and eggs until light and fluffy and the colour is a pale cream colour. This takes about 3-4 minutes. Then add in the lemon zest and vanilla and beat for about 30 seconds.


Sift in the dry ingredients and with a spatula, and fold in. Then fold in the melted butter. Making sure all the butter is carefully folded in, as the butter can settle on the bottom.
Once the batter is done, spoon the mix into the little shell moulds. Don’t overfill as they will rise a little too far over the edge. And don’t worry about smoothing the batter into th mould as when they are in the oven, they will melt down and rise nicely.

Pop the tray into the oven for 7-10 minutes. I check them after 7 minutes and if they aren’t quite golden brown on top, I give them another 2-3 minutes. Take them out and cool for a minute in the tin.
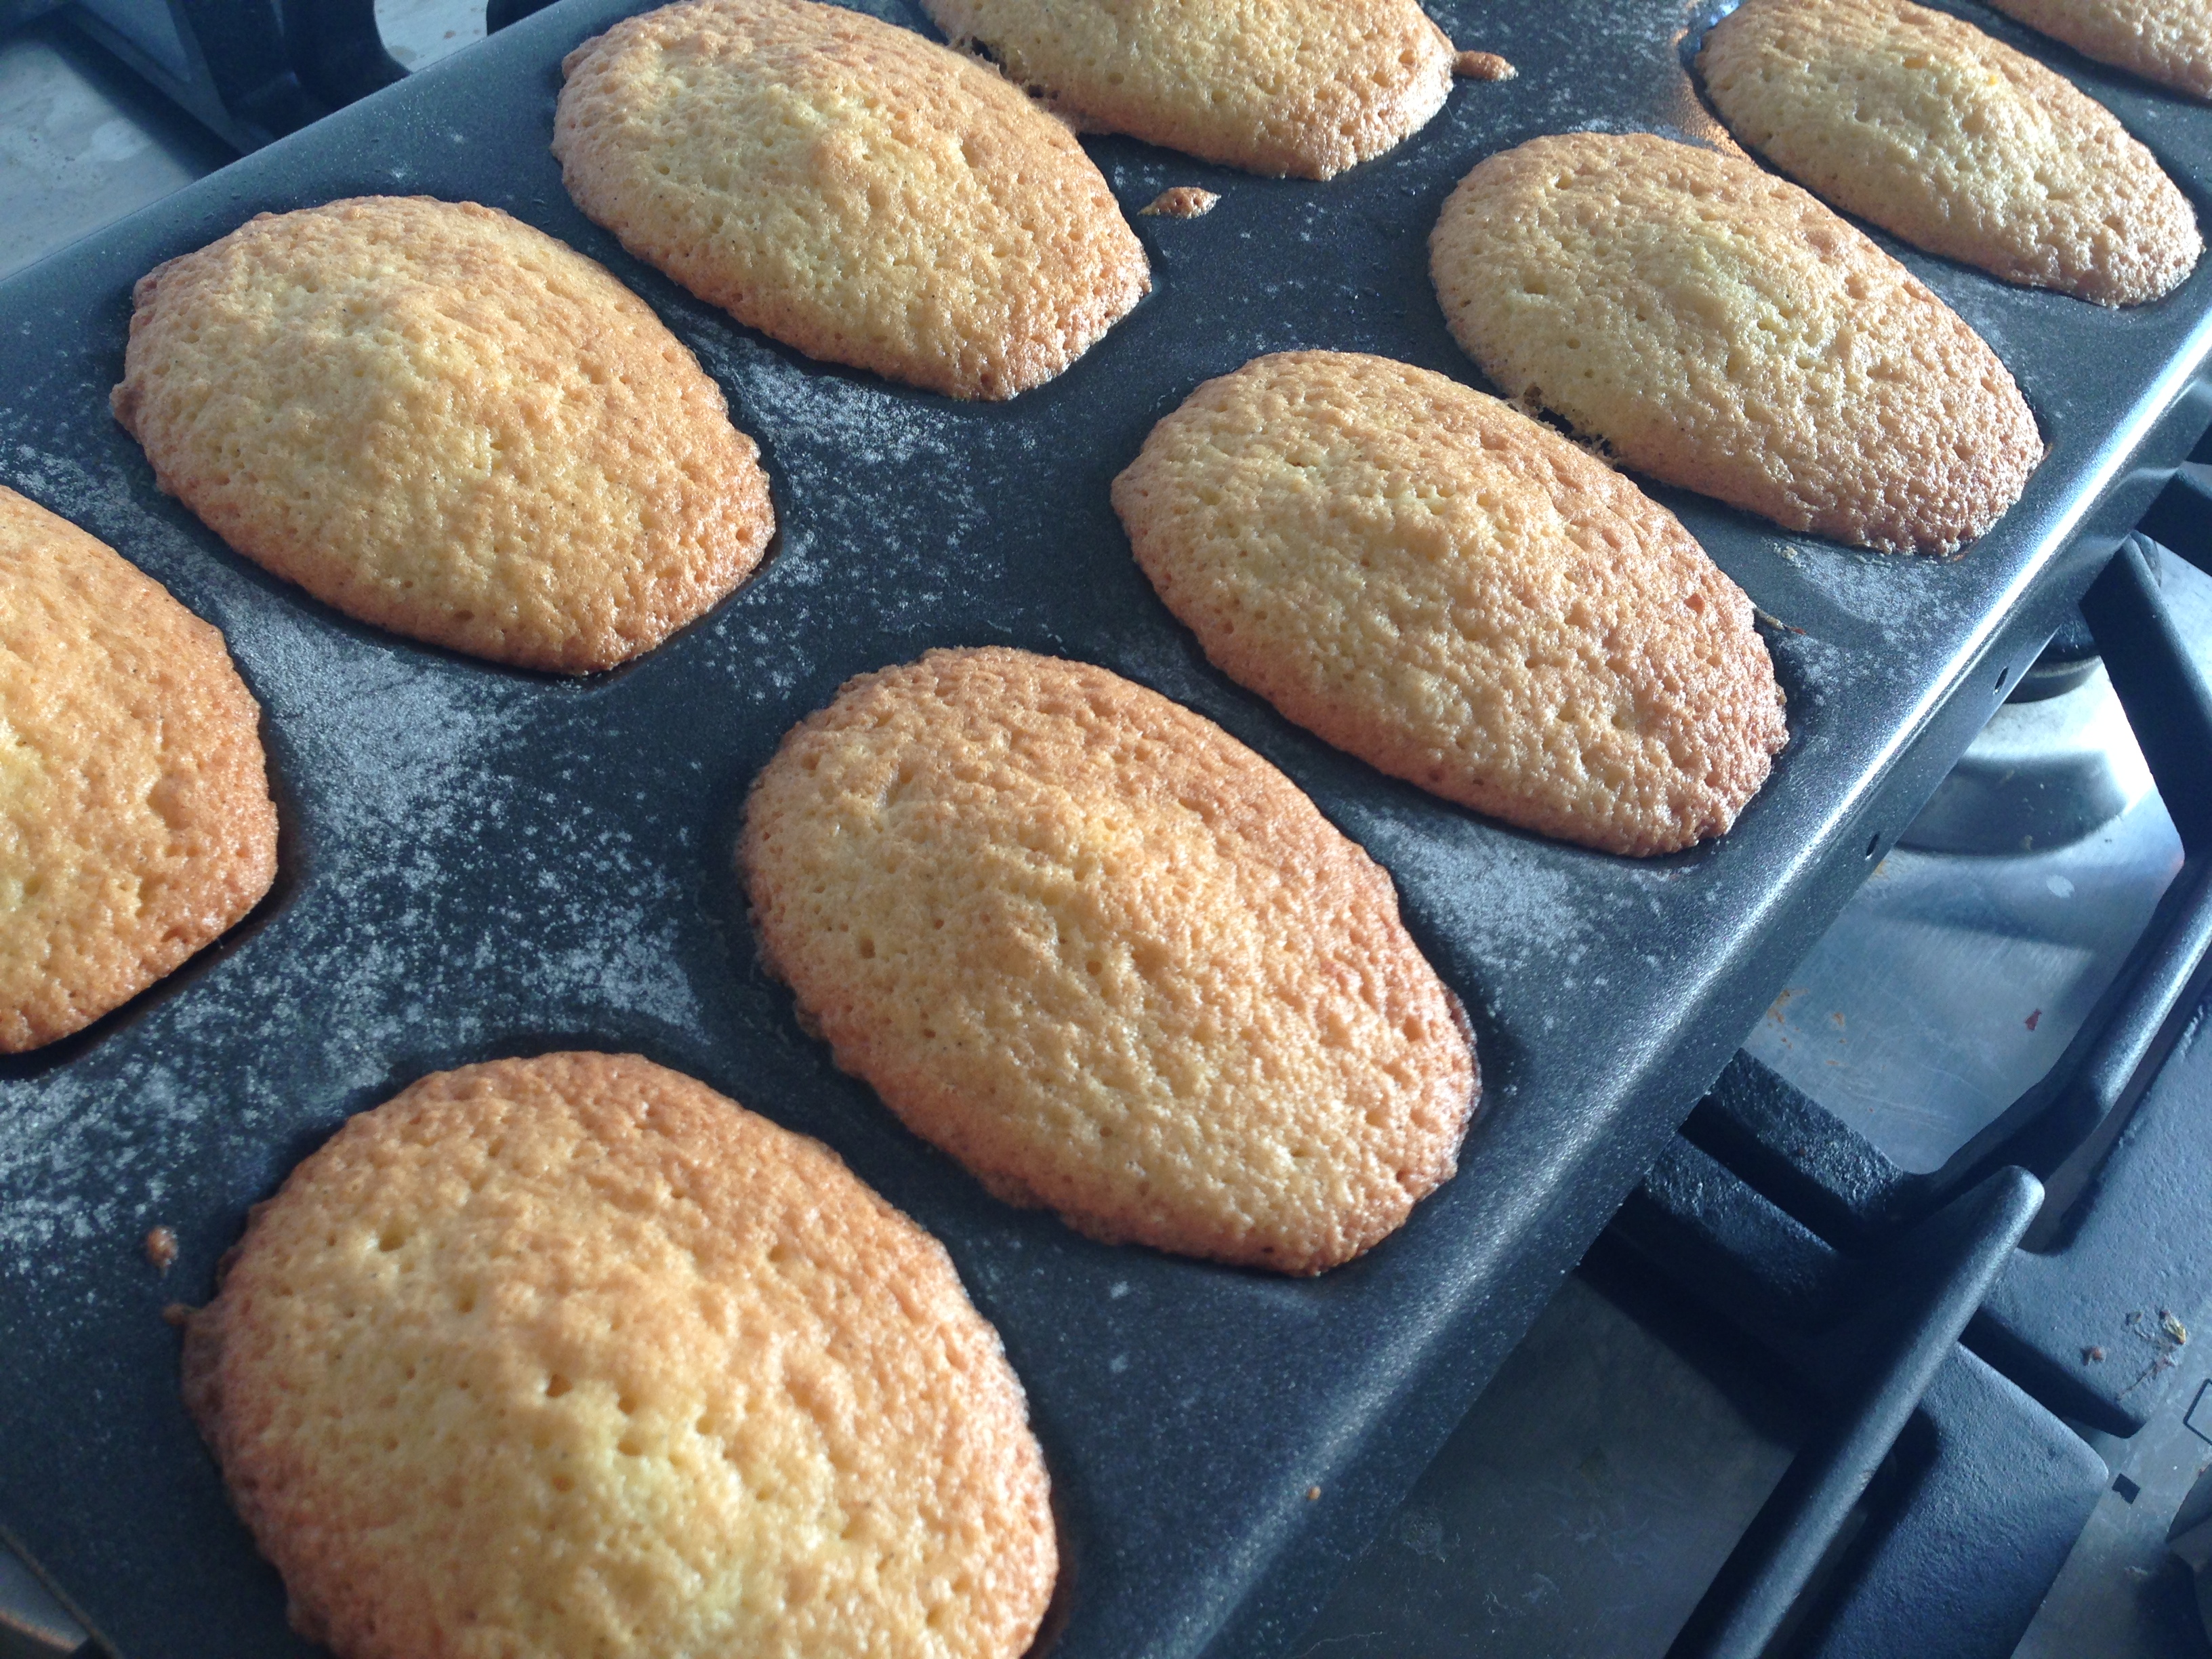
Then place them on a wir rack and cool completely.

Serve on the side of a nice coffee, or you could do as I do and stand leaning against the kitchen counter scoffing them as the coffee is being brewed.


These look great. I’ve always been a little intimidated to make these. By the way, your page looks great- especially the photography.
I used to be terrified of the thought of making these too, but they are actually super simple. As for the photography, I do my best with my iphone camera but they ar not as good as I would like, but thank you for your lovely comments!